Choose Your Games










On this page
- All 83 ARC Raiders blueprint locations
- How blueprint drops work
- Which containers to open first
- Best blueprint farming spots by map
- Tempest blueprint
- Anvil blueprint
- Bobcat blueprint
- Snap Hook blueprint
- Venator blueprint
- Jupiter blueprint
- Vulcano blueprint
- Looting Mk. 3 (Safekeeper) blueprint
- Tactical Mk. 3 (Revival) blueprint
- Aphelion blueprint
- Blueprints you do not have to farm
- Blueprints added in the Flashpoint and Riven Tides updates
- Farming tips that actually move the needle
- Frequently asked questions
Looking for a specific ARC Raiders blueprint? The table below lists every blueprint in the game with the map, map condition and container type it drops from, and whether a quest or Weekly Trial hands it to you instead. Below the table you will find which containers to open first, the best farming spots on each map, and detailed routes for ten high-demand blueprints. Updated September 16, 2026.
All 83 ARC Raiders blueprint locations
Most scavengable blueprints can turn up on more than one map; the Map column is the best farming location, not an exclusive one. Quest, boss and event blueprints only come from the source listed. “Any, condition only” means it only rolls while the listed condition is active. “Trials” is whether the blueprint can show up in Weekly Trial reward crates.
| Blueprint | How to get | Map | Map condition | Where it drops | Trials |
|---|---|---|---|---|---|
| Angled Grip II | Scavenge | All maps | Any | Residential Containers | Yes |
| Angled Grip III | Scavenge | All maps | Electromagnetic Storm, Locked Gate, Night Raid | Residential Containers | Yes |
| Anvil | Scavenge | All maps | Any | Raider Containers | Yes |
| Aphelion | Boss drop | Any | Matriarch | Matriarch boss drop | No |
| Barricade Kit | Scavenge | All maps | Any | Electrical Containers | Yes |
| Bettina | Scavenge | All maps | Any | Raider Containers | Yes |
| Blaze Grenade | Scavenge | All maps | Any | Industrial Containers | Yes |
| Blue Light Stick | Scavenge | All maps | Any | Anywhere | Yes |
| Bobcat | Scavenge | Any, condition only | Locked Gate, Hurricane | Anywhere, First Wave Cache | Yes |
| Burletta | Quest reward | N/A | N/A | Quest: Industrial Espionage | Yes |
| Canto | Scavenge | Any, condition only | Hurricane | First Wave Cache | Yes |
| Combat Mk. 3 (Aggressive) | Scavenge | Stella Montis, The Blue Gate | Any | Medical Containers, Security Containers | Yes |
| Combat Mk. 3 (Flanking) | Scavenge | Stella Montis, The Blue Gate | Any | Medical Containers, Security Containers | Yes |
| Compensator II | Scavenge | All maps | Any | Residential Containers | Yes |
| Compensator III | Scavenge | Any, condition only | Electromagnetic Storm, Locked Gate, Night Raid | Residential Containers | Yes |
| Complex Gun Parts | Scavenge | All maps | Any | Security Containers | No |
| Crash Mat | Scavenge | Riven Tides | Any | Anywhere | Yes |
| Deadline | Scavenge | Stella Montis | Any | Anywhere | Yes |
| Defibrillator | Scavenge | All maps | Any | Medical Containers | Yes |
| Dolabra | Event drop | Any, condition only | Close Scrutiny | ARC Assessor | No |
| Equalizer | Event drop | Any, condition only | Harvester | Harvester | No |
| Explosive Mine | Scavenge | All maps | Any | Industrial Containers | Yes |
| Extended Barrel II | Scavenge | All maps | Any | Unknown | Yes |
| Extended Barrel III | Scavenge | Any, condition only | Electromagnetic Storm, Locked Gate, Night Raid | Residential Containers | Yes |
| Extended Light Mag II | Scavenge | All maps | Any | Residential Containers | Yes |
| Extended Light Mag III | Scavenge | Any, condition only | Electromagnetic Storm, Locked Gate, Night Raid | Residential Containers | Yes |
| Extended Medium Mag II | Scavenge | All maps | Night Raid | Residential Containers | Yes |
| Extended Medium Mag III | Scavenge | Any, condition only | Electromagnetic Storm, Locked Gate, Night Raid | Residential Containers | Yes |
| Extended Shotgun Mag II | Scavenge | All maps | Any | Residential Containers | Yes |
| Extended Shotgun Mag III | Scavenge | Any, condition only | Electromagnetic Storm, Locked Gate, Night Raid | Residential Containers | Yes |
| Fireworks Box | Scavenge or quest | Any, condition only | Cold Snap | Anywhere; Quest: Test Case | Unknown |
| Gas Mine | Scavenge | Stella Montis | Any | Anywhere | Unknown |
| Green Light Stick | Scavenge | All maps | Any | Anywhere | Yes |
| Heavy Gun Parts | Scavenge | All maps | Any | Raider Containers | Yes |
| Hullcracker | Quest reward | N/A | N/A | Quest: The Major’s Footlocker | No |
| Il Toro | Scavenge | All maps | Any | Raider Containers | Yes |
| Jolt Mine | Scavenge | All maps | Any | Industrial Containers | Yes |
| Jupiter | Event drop | Any, condition only | Harvester | Harvester | No |
| Light Gun Parts | Scavenge | All maps | Any | Raider Containers | Yes |
| Lightweight Stock | Scavenge | Any, condition only | Electromagnetic Storm, Locked Gate, Night Raid | Residential Containers | Yes |
| Looting Mk. 3 (Safekeeper) | Scavenge | Stella Montis, Blue Gate, Dam Battlegrounds | Any (best: Night Raid, Electromagnetic Storm) | Security Containers, Medical Containers, black cases | Yes |
| Looting Mk. 3 (Survivor) | Scavenge | All maps | Any | Medical Containers, Security Containers, Metal Crate | Yes |
| Lure Grenade | Quest reward | N/A | N/A | Quest: Greasing Her Palms | No |
| Medium Gun Parts | Scavenge | All maps | Any | Raider Containers | Yes |
| Muzzle Brake II | Scavenge | All maps | Any | Residential Containers | Yes |
| Muzzle Brake III | Scavenge | Any, condition only | Electromagnetic Storm, Locked Gate, Night Raid | Residential Containers | Yes |
| Osprey | Scavenge | All maps | Any | Raider Containers | Yes |
| Padded Stock | Scavenge | Any, condition only | Electromagnetic Storm, Locked Gate, Night Raid, Hidden Bunker | Residential Containers | Yes |
| Powered Descender | Scavenge | Riven Tides | Unknown | Anywhere | Unknown |
| Pulse Mine | Scavenge | Stella Montis | Any | Anywhere | Yes |
| Rascal | Scavenge | All maps | Any | Raider Containers | Unknown |
| Red Light Stick | Scavenge | All maps | Any | Anywhere | Yes |
| Remote Raider Flare | Scavenge | All maps | Any | Electrical Containers | Yes |
| Seeker Grenade | Scavenge | Stella Montis | Any | Anywhere | Unknown |
| Shotgun Choke II | Scavenge | All maps | Any | Residential Containers | Yes |
| Shotgun Choke III | Scavenge | Any, condition only | Electromagnetic Storm, Locked Gate, Night Raid | Residential Containers | Yes |
| Shotgun Silencer | Scavenge | Any, condition only | Electromagnetic Storm, Locked Gate, Night Raid, Hidden Bunker | Residential Containers | Yes |
| Showstopper | Scavenge | All maps | Any | Industrial Containers | Yes |
| Silencer I | Scavenge | All maps | Any | Residential Containers | Yes |
| Silencer II | Scavenge | All maps | Any | Residential Containers | Yes |
| Smoke Grenade | Scavenge | All maps | Any | Residential Containers | Unknown |
| Snap Hook | Scavenge | Any, condition only | Electromagnetic Storm | Anywhere | Trophy Only |
| Stable Stock II | Scavenge | All maps | Any | Residential Containers | Yes |
| Stable Stock III | Scavenge | Any, condition only | Electromagnetic Storm, Locked Gate, Night Raid | Residential Containers | Yes |
| Surge Coil | Scavenge | Any, condition only | Electromagnetic Storm | Unknown | Unknown |
| Tactical Mk. 3 (Defensive) | Scavenge | Stella Montis, The Blue Gate | Any | Medical Containers, Security Containers, ARC Surveyor | Yes |
| Tactical Mk. 3 (Healing) | Scavenge | Stella Montis, The Blue Gate | Any | Medical Containers, Security Containers | Yes |
| Tactical Mk. 3 (Revival) | Scavenge | Stella Montis, Dam Battlegrounds, Spaceport | Any | Medical Containers, Security Containers | Yes |
| Tactical Mk. 3 (Smoke) | Scavenge | Unknown | Unknown | Unknown | Unknown |
| Tagging Grenade | Scavenge | All maps | Any | Electrical Containers | Yes |
| Tempest | Scavenge | Any, condition only | Night Raid, Hurricane | Any container, First Wave Cache | Yes |
| Torrente | Scavenge | All maps | Any | Raider Containers | Yes |
| Trailblazer | Scavenge | Stella Montis | Any | Anywhere | Yes |
| Trigger ‘Nade | Scavenge or quest | All maps | Any | Anywhere; Quest: Sparks Fly | Unknown |
| Venator | Scavenge | All maps | Any | Raider Containers | Yes |
| Vertical Grip II | Scavenge | All maps | Any | Residential Containers | Yes |
| Vertical Grip III | Scavenge | Any, condition only | Electromagnetic Storm, Locked Gate, Night Raid | Residential Containers | Yes |
| Vita Shot | Scavenge or Trophy Project | All maps | Any | Medical Containers, ARC Surveyor | Yes |
| Vita Spray | Scavenge or quest | All maps | Any | Medical Containers, ARC Surveyor; Quest: Worth Your Salt | Yes |
| Vulcano | Scavenge | Any, condition only | Hidden Bunker, Hurricane | Anywhere, First Wave Cache | Yes |
| White Flag | Scavenge | Riven Tides | Any | Anywhere | Yes |
| Wolfpack | Scavenge | Any, condition only | Night Raid | Residential Containers | Yes |
| Yellow Light Stick | Scavenge | All maps | Any | Anywhere | Yes |
How blueprint drops work
- Blueprints come from scavenging, Weekly Trials, quests and the Trophy Project. Most scavengable blueprints sit in the container category that matches the item: explosives in Industrial Containers, weapons and gun parts in Raider Containers, medical items in Medical Containers, augments in Security Containers. Condition-locked blueprints such as Tempest and Bobcat are the exception: while their condition is running they can come out of the wider event loot pool, not just their own category.
- Every container rolls its own chance. Expect roughly 1 to 2% per container; there is no official published rate, so the number of good containers you open per raid matters more than any single spot.
- Rare blueprints show up noticeably more often while a x2 Major Map Condition is running. Night Raid, Hurricane, Electromagnetic Storm, Locked Gate, Hidden Bunker and Harvester each unlock their own set.
- A blueprint is learn-and-consume: extract with it, open your inventory in Speranza, choose Learn and Consume, and the recipe is yours permanently. Blueprints you already know are marked with a check, so spares can be traded or gifted.
Which containers to open first
Not every container is worth the time. Work through this list from the top down.
- Highest-value containers: First Wave Raider Caches (Hurricane), Security Lockers and black Raider Boxes. Few per map, best roll per box; build your route around them.
- Best high-volume searches: drawers, dressers, fridges, trash cans and the other residential containers. Each one is a small chance, but there are dozens in every building and they take seconds to open.
- Worth checking on your route: medical bags, grenade tubes and duffel bags.
- Lowest priority: standard lockers, small tool containers and car hoods.
Three things that change your results more than anything else:
- Breach rooms roll better loot. Anything behind a breachable or keyed door counts as a high-value zone with more containers per room. Hit them early, before other squads do.
- Hurricane Raider Caches are the single best blueprint container in the game and only exist during Hurricane. They give off a faint ticking, whirring sound, so turn your effects volume up and follow your ears.
- Night Raid spawns more high-tier containers than a daytime run and is where the rarest weapon blueprints, Tempest above all, turn up most.
Best blueprint farming spots by map
Dam Battlegrounds
Control Tower, Power Generation Complex, Ruby Residence, Pale Apartments, the hidden vault under the West Broken Bridge, and the breach rooms in the lower bridge support mechanisms. The map has the densest Raider Cache spread, with Hurricane variants when the condition is on.
Buried City
Plaza Rosa Pharmacy, the Hospital, Santa Maria Houses, Grandioso Apartments, Town Hall, the Piazza Arbusto breach door at night, and the Marano Station breach room. Tight urban layout, lots of indoor containers, fast routes once you know the streets.
Spaceport
Arrival Building, Departure Building, Control Tower A6, the upper level of Vehicle Maintenance, the Launch Towers and the vertical pipe route along the Fuel Lines. Rooftop security lockers are the prize; expect squads fighting over them.
Blue Gate
Pilgrim’s Peak, Raider’s Refuge, the Ancient Fort, the Underground Warehouse Complex and the Reinforced Reception puzzle room. The breach room beneath Reinforced Reception in the security wing is the best augment-blueprint spot on the map.
Stella Montis
Security Checkpoint (breach-heavy), Medical Research, Assembly Workshop, Business Center and the Western Tunnel security lockers. Indoor map with concentrated loot zones, strong for augment and attachment blueprints.
Riven Tides
Riven Tides is where Crash Mat, Powered Descender and White Flag turn up, and none of them is tied to a container type, so any container on the map can roll them. Run the same priority as everywhere else: keyed and breach rooms first, then the residential containers in bulk.
Tempest blueprint
- Map: Any, only during its conditions
- Condition: Night Raid or Hurricane
- Containers: Any container, First Wave Cache
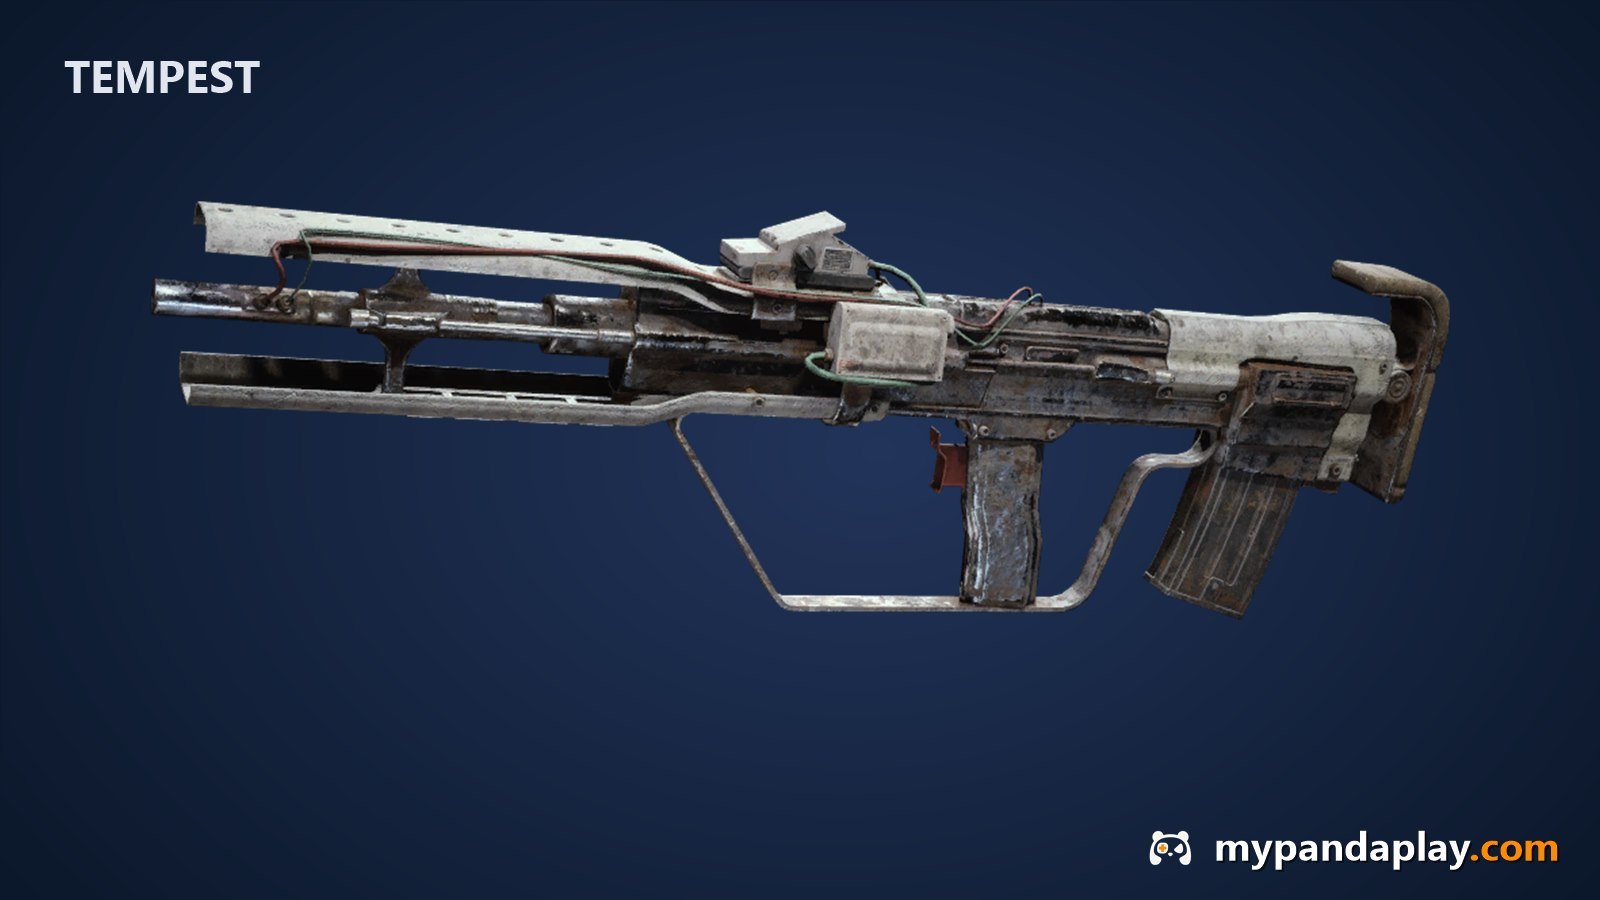
The Tempest is the blueprint most players are hunting, and it only rolls while Night Raid or Hurricane is active. Under those conditions it can come out of any container, so the plan is to open as many good ones as possible in the right buildings. A daytime run without either condition will not give you one, so check the schedule before you queue.
- Buried City at night is the run to make. Best spots: the blue case outside the Hospital by the red lockers and white drawers, fridges in the residential houses, the Town Hall key breach room off Piazza Arbusto, and the Space Travel building, second-highest floor, left-side rooms.
- Work the Security Breach lockers in Grandioso Apartments, Plaza Rosa Pharmacy, Red Tower, Santa Maria Houses and Town Hall. Those beat the ordinary drawers and file cabinets in the same buildings.
- During Hurricane, First Wave Raider Caches on any map can drop it; the Spaceport Arrival Building is another proven location.
- Crafting: Gunsmith 3. Tempest I needs 1 Magnetic Accelerator, 3 Medium Gun Parts and 2 Exodus Modules.
Anvil blueprint
- Map: All maps
- Condition: Any, no condition needed
- Containers: Raider Containers
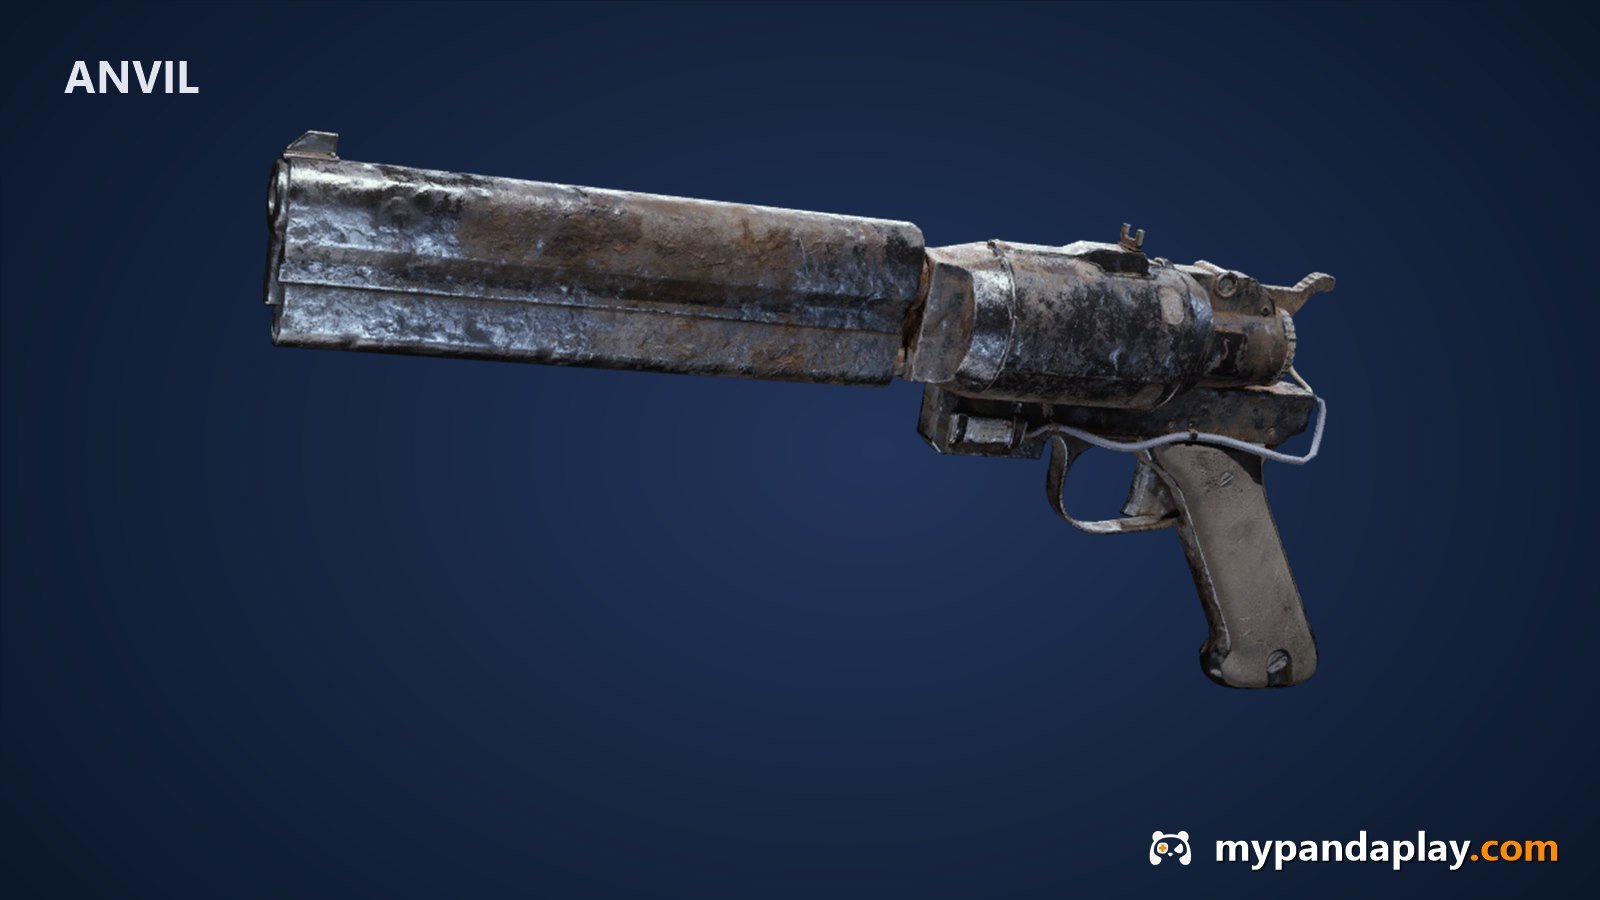
The Anvil is the easy one. It needs no condition and sits in Raider Containers on every map. About half of all Anvil finds come out of Raider Caches; weapon boxes and locked rooms make up most of the rest. On Dam Battlegrounds the Research and Administration rooms, plus the rooms behind the Dam Surveillance Key and Dam Staff Key, are the ones to breach.
There is nothing to wait for: open every Raider Cache on your route and use the keys you have. Our list of every ARC Raiders key location shows which door each key opens.
Bobcat blueprint
- Map: Any, only during its conditions
- Condition: Locked Gate or Hurricane
- Containers: Anywhere, First Wave Cache
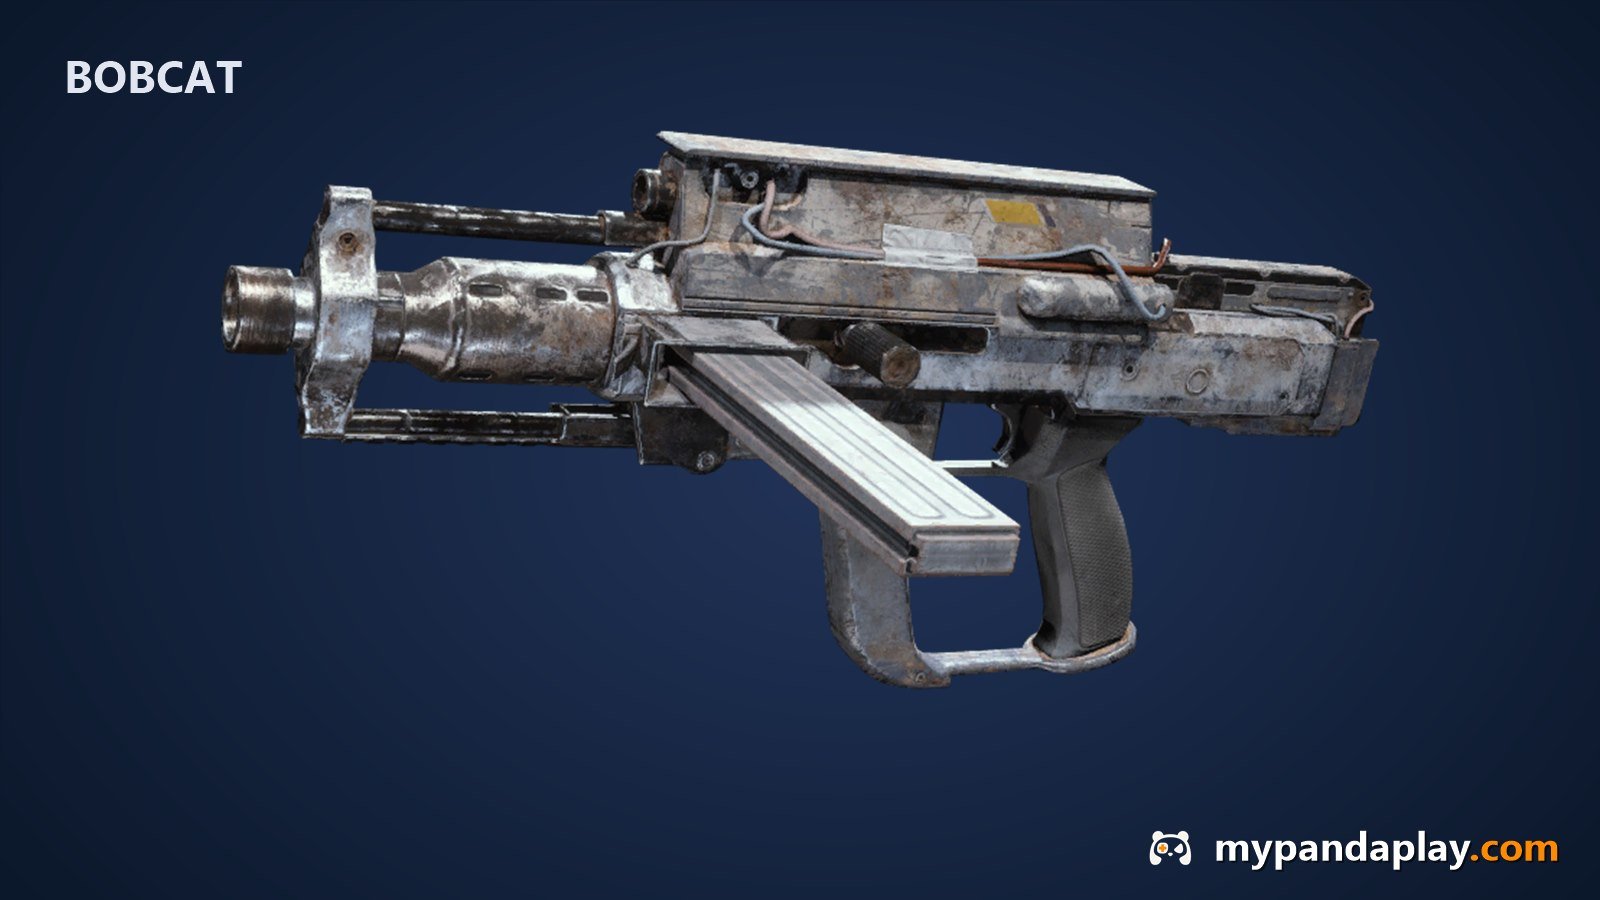
- Locked Gate is on Blue Gate. The drop is in the Underground Complex behind the Locked Gate event, which only opens at set times each day and needs the full event sequence finished before the loot area is reachable. Bring a squad and a route; a solo player usually runs out of timer.
- Hurricane Raider Caches are the second route and do not need the event, so if Hurricane is up on any map, farm caches instead.
- The official map conditions schedule shows when each condition is next active in your region.
- Crafting: Bobcat I needs 1 Magnetic Accelerator, 3 Light Gun Parts and 2 Exodus Modules.
Snap Hook blueprint
- Map: Any, only during its condition
- Condition: Electromagnetic Storm
- Containers: Anywhere
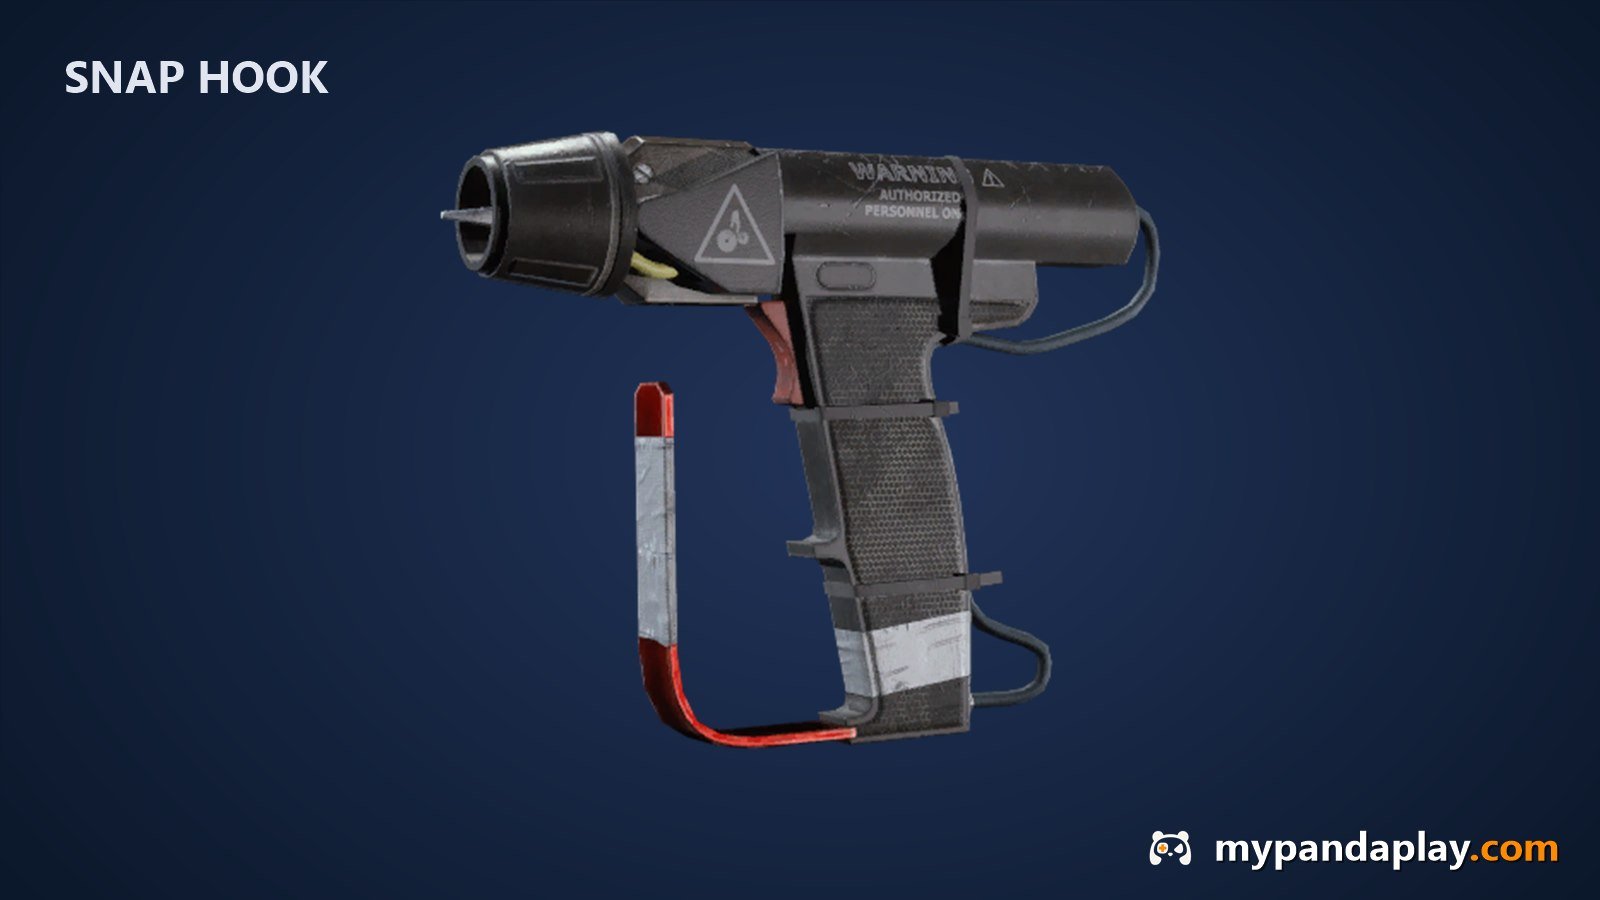
- Condition: Electromagnetic Storm. It can technically drop anywhere during the storm, but Dam Battlegrounds is where it actually turns up.
- Rooms: the Primary Facility and the Generator Hall, both packed with metal breach crates, plus the drawers on the rusted tables that only exist inside the Primary Facility. Take the Gentle Pressure and Proficient Pryer skills so breaching is quieter and faster.
- It does not appear in Weekly Trial crates, so the storm is the only way.
Venator blueprint
- Map: All maps
- Condition: Any, no condition needed
- Containers: Raider Containers
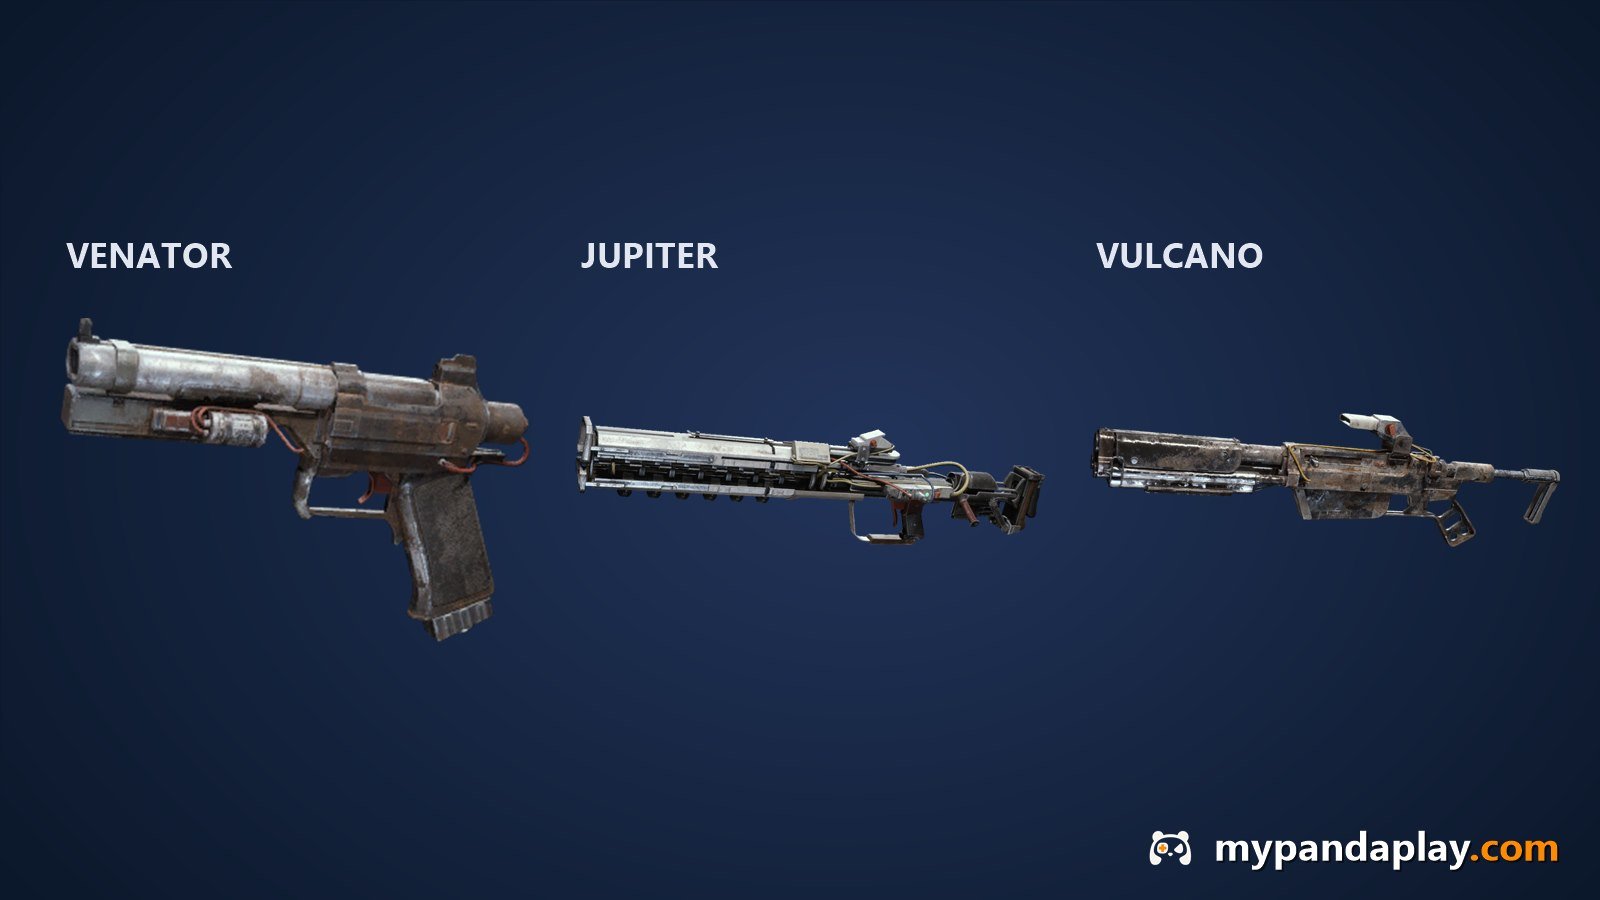
The Venator blueprint drops from Raider Containers on any map with no required condition. Follow the container ranking above and it comes with time.
Jupiter blueprint
- Map: Any, only during its condition
- Condition: Harvester
- Containers: Harvester event containers
The Jupiter cannot be scavenged from normal containers and is not in the Weekly Trial pool. It comes from the Harvester event containers during the Harvester condition, and nowhere else. The Equalizer blueprint follows the same rule, so plan a Harvester run for both.
Vulcano blueprint
- Map: Any, only during its conditions
- Condition: Hidden Bunker or Hurricane
- Containers: Anywhere, First Wave Cache
- Hidden Bunker: the Spaceport bunker event is the main route. Any container inside the event zone can hold it.
- Hurricane: First Wave Raider Caches on any map are the second route.
Looting Mk. 3 (Safekeeper) blueprint
- Map: Stella Montis, Blue Gate, Dam Battlegrounds
- Required condition: None
- Containers: Security Containers, Medical Containers, black cases
- Best conditions: Night Raid, Electromagnetic Storm
The Safekeeper augment gives you a secure pocket that keeps your weapons and gear even if you die, which is why it is one of the most valuable augment blueprints in the game.
- Best spot: Stella Montis during Night Raid, the black case in the Security Checkpoint lobby.
- Second: Blue Gate during Electromagnetic Storm, the abandoned housing project at spawn, and the underground breach room beneath Reinforced Reception in the security wing, which spawns a large number of high-tier containers.
- Daytime alternative: the medical drawer inside the Testing Annex on Dam Battlegrounds.
- Focus on medical and key rooms, security checkpoints and lockers.
Tactical Mk. 3 (Revival) blueprint
- Map: Stella Montis, Dam Battlegrounds, Spaceport
- Required condition: None
- Containers: Medical Containers, Security Containers
- Best conditions: Matriarch for the Spaceport spot
The Revival augment has a built-in defibrillator on a 240-second cooldown, so you can keep reviving teammates without carrying one.
- Stella Montis: the white drawers in Medical.
- Dam Battlegrounds: the water towers.
- Spaceport: the lockers under the giant tower in the centre, during Matriarch.
- Search medical drawers first, then the keyed areas behind locked gates.
Aphelion blueprint
- Map: Any
- Condition: Matriarch
- Containers: Matriarch boss drop
The Aphelion does not sit in containers. It drops from the Matriarch boss encounter, so it only exists during the Matriarch condition and you have to bring the boss down to roll for it. Go in as a squad with the ammo to finish the fight.
Blueprints you do not have to farm
Quest rewards
| Blueprint | Quest |
|---|---|
| Trigger ‘Nade | Sparks Fly |
| Lure Grenade | Greasing Her Palms |
| Burletta | Industrial Espionage |
| Hullcracker (with launcher ammo) | The Major’s Footlocker |
Weekly Trials
Trials unlock at level 15. Five refresh every week, each with up to three reward tiers, and the top-tier crates can contain blueprints. Clearing all five every week is the steadiest blueprint income in the game. Notable exclusions are Snap Hook and Jupiter; the Trials column in the table shows the full list.
Trophy Project
The Trophy Project has no end date. Stage 2 pays out the Vita Shot blueprint for 15 Hornet Drivers.
Blueprints added in the Flashpoint and Riven Tides updates
Eight blueprints came in with these two updates, and the Bobcat recipe was reworked at the same time.
| Blueprint | Type | Station | Recipe |
|---|---|---|---|
| Canto | Weapon | Gunsmith 3 | 2 Advanced Mechanical Components, 5 Magnet, 3 Medium Gun Parts |
| Dolabra | Weapon | Gunsmith 3 | 3 Shredder Gyro, 3 Magnetic Accelerator, 2 Vaporizer Regulator |
| Rascal | Weapon | Gunsmith 2 | 2 Advanced Mechanical Components, 5 Canister, 3 Heavy Gun Parts |
| Surge Coil | Quick use | Explosives Station 3 | 1 Electrical Components, 1 Hornet Driver, 1 Sensors |
| Crash Mat | Quick use | Utility Station 2 | 1 Electrical Components, 1 Durable Cloth |
| Powered Descender | Quick use | Utility Station 3 | 1 Power Rod, 1 Turbine Compressor |
| Tactical Mk. 3 (Smoke) | Augment | Gear Bench 3 | 2 Advanced Electrical Components, 3 Processor |
| White Flag | Quick use | Medical Lab 1 | 10 Fabric, 3 Plastic Parts |
Farming tips that actually move the needle
- Run cheap gear, but never a free loadout. The free loadout has no Safe Pocket, so a blueprint you find dies with you.
- Skip fights you do not need. Every death resets the run; the blueprint is the objective, not the kill feed.
- Breach rooms first, then keyed rooms, then the open floor. Carry the keys for the security lockers on your route.
- Queue on the condition, not the map. Tempest wants Night Raid or Hurricane, Bobcat wants Locked Gate or Hurricane, Snap Hook wants Electromagnetic Storm, Vulcano wants Hidden Bunker or Hurricane, Jupiter wants Harvester. If none of them is up, farm Anvil and Venator instead.
- Extract the moment a rare blueprint drops. Nothing else in that raid is worth losing it.
- Attachments are common. Do not chase Grip or Mag blueprints early; they come by themselves.
Frequently asked questions
How many blueprints are in ARC Raiders?
83 right now, counting quest-only ones. There is no cap on how many you can learn.
Which map condition has the best blueprint odds?
Any x2 Major Map Condition raises rare blueprint frequency. Hurricane is the most valuable single condition because its First Wave Raider Caches cover Tempest, Bobcat and Vulcano at once.
Are blueprints map-exclusive?
Mostly no. Scavengable blueprints can turn up on more than one map, and the Map column in the table is the best farming location rather than the only one. The exceptions are quest, boss and event blueprints such as Hullcracker, Aphelion and Jupiter, which only come from their source.
Which blueprints are the hardest to find?
Two different kinds of hard. The rarest random drops are Tempest, Bobcat, Vulcano, Torrente, Osprey and Bettina. The restricted-source ones are Aphelion (Matriarch boss), Jupiter and Equalizer (Harvester event) and Hullcracker (quest only); those are not rare so much as gated behind one specific source.
Which blueprints should I prioritise?
For what they change in a raid: Snap Hook, Showstopper, Wolfpack, Explosive Mine, Jolt Mine, Lure Grenade and Anvil. Attachment blueprints are common and arrive on their own, so do not spend runs chasing them early.
Does difficulty change blueprint drop rates?
No. Container type and map condition are what matter.
Can in-game vendors sell blueprints?
No. Quests and fixed Trophy Project rewards are the only guaranteed sources; everything else has to be scavenged, won in Weekly Trials, taken from events or traded.
Is a traded blueprint the same as a found one?
Yes. It is the same item, learned the same way, and unlocks the same recipe.